For years, dating back to the Athlon line, I had been using AMD processors for my builds and had been waiting in anticipation for Ryzen's release, which debuted in February of this year. I had been using an overclocked FX-8350 for a few years, which meant there was no upgrade path in sight that didn't require a full architecture and socket change, whether that be AMD or Intel.
In the end, I eventually decided to go the Intel route with the i7-7700K, valuing the additional gaming performance over Ryzen's multi-threaded capabilities - ones I wouldn't realistically take advantage of on a day to day basis. Simultaneously, I also decided to order a delidding kit and the necessary supplies to delid the i7-7700K.
What is Delidding?
Dating back to around Haswell, Intel's processors have been notorious for reaching extremely high temperatures, especially while overclocking. The leading issue for this seems to be due to the TIM (thermal interface material) they're using on the die. "Delidding" is the process of removing the Integrated Heat Spreader (IHS) from a CPU with the intention of applying aftermarket TIM to the CPU. It's unlikely that they're merely skimping out and using ill-suited TIM, but rather focusing on longevity at stock/moderate voltages. With that in mind, it's possible that aftermarket TIM solutions may require additional delidding at some point to re-apply fresh TIM, but that's purely my speculation.
This isn't going to act as in in-depth overclocking/delidding guide, there are more than enough of those already throughout the internet.
Build Specs
- CPU: Intel Core i7-7700K
- Cooler: Corsair H115i Liquid Cooler
- Mobo: ASUS ROG MAXIMUS IX HERO
- RAM: Corsair Vengeance 32GB RGB LED (4x8GB) DDR4 3000 MHZ
- PSU: Corsair RM750
Benchmarks and Stress Tests:
- x264 (16 threads)
- Prime 95 27.9
- ROG RealBench
- AIDA64
- Cinebench R15
- Vegas PRO 14 (~5m Sony AVC 1080p60 render)
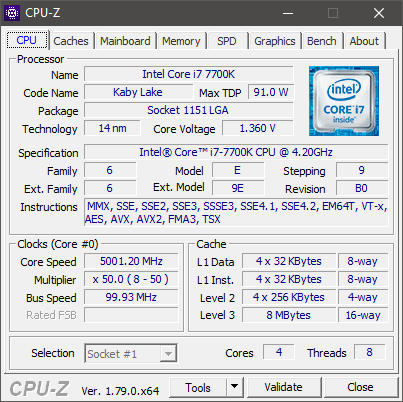
Prior to delidding, I was able to overlock to 5.0GHz @1.36v using an AVX offset of -2 and load-line calibration (LLC) set to 3. Even with the offset, AVX workloads resulted in the package hitting 100C temps and instantly shutting down. 4.9GHz @1.35v resulted in much more stability, but not by much in regards to thermals, which were still exceeding 94C and over in the long term.
Delidding Materials:
- Intel Core i7-7700K (or whatever LGA 1155/1150/1151 CPU you have)
- Rockit 88
- Re-Lid Kit - 1150 / 1151
- Thermal Grizzly Conductonaut (Coollaboratory Liquid Ultra also works)
- Loctite Super Glue - Gel Control
- 91% Isopropyl alcohol
- Coffee Filters
- Cotton Swabs
- Scotch Tape
Alternatively, you could you use a silicon-based gasket maker instead of the super glue, either one is easy enough to de-lid and does the job. Just note that the gasket maker will take much longer to cure, hence why I chose the super glue.

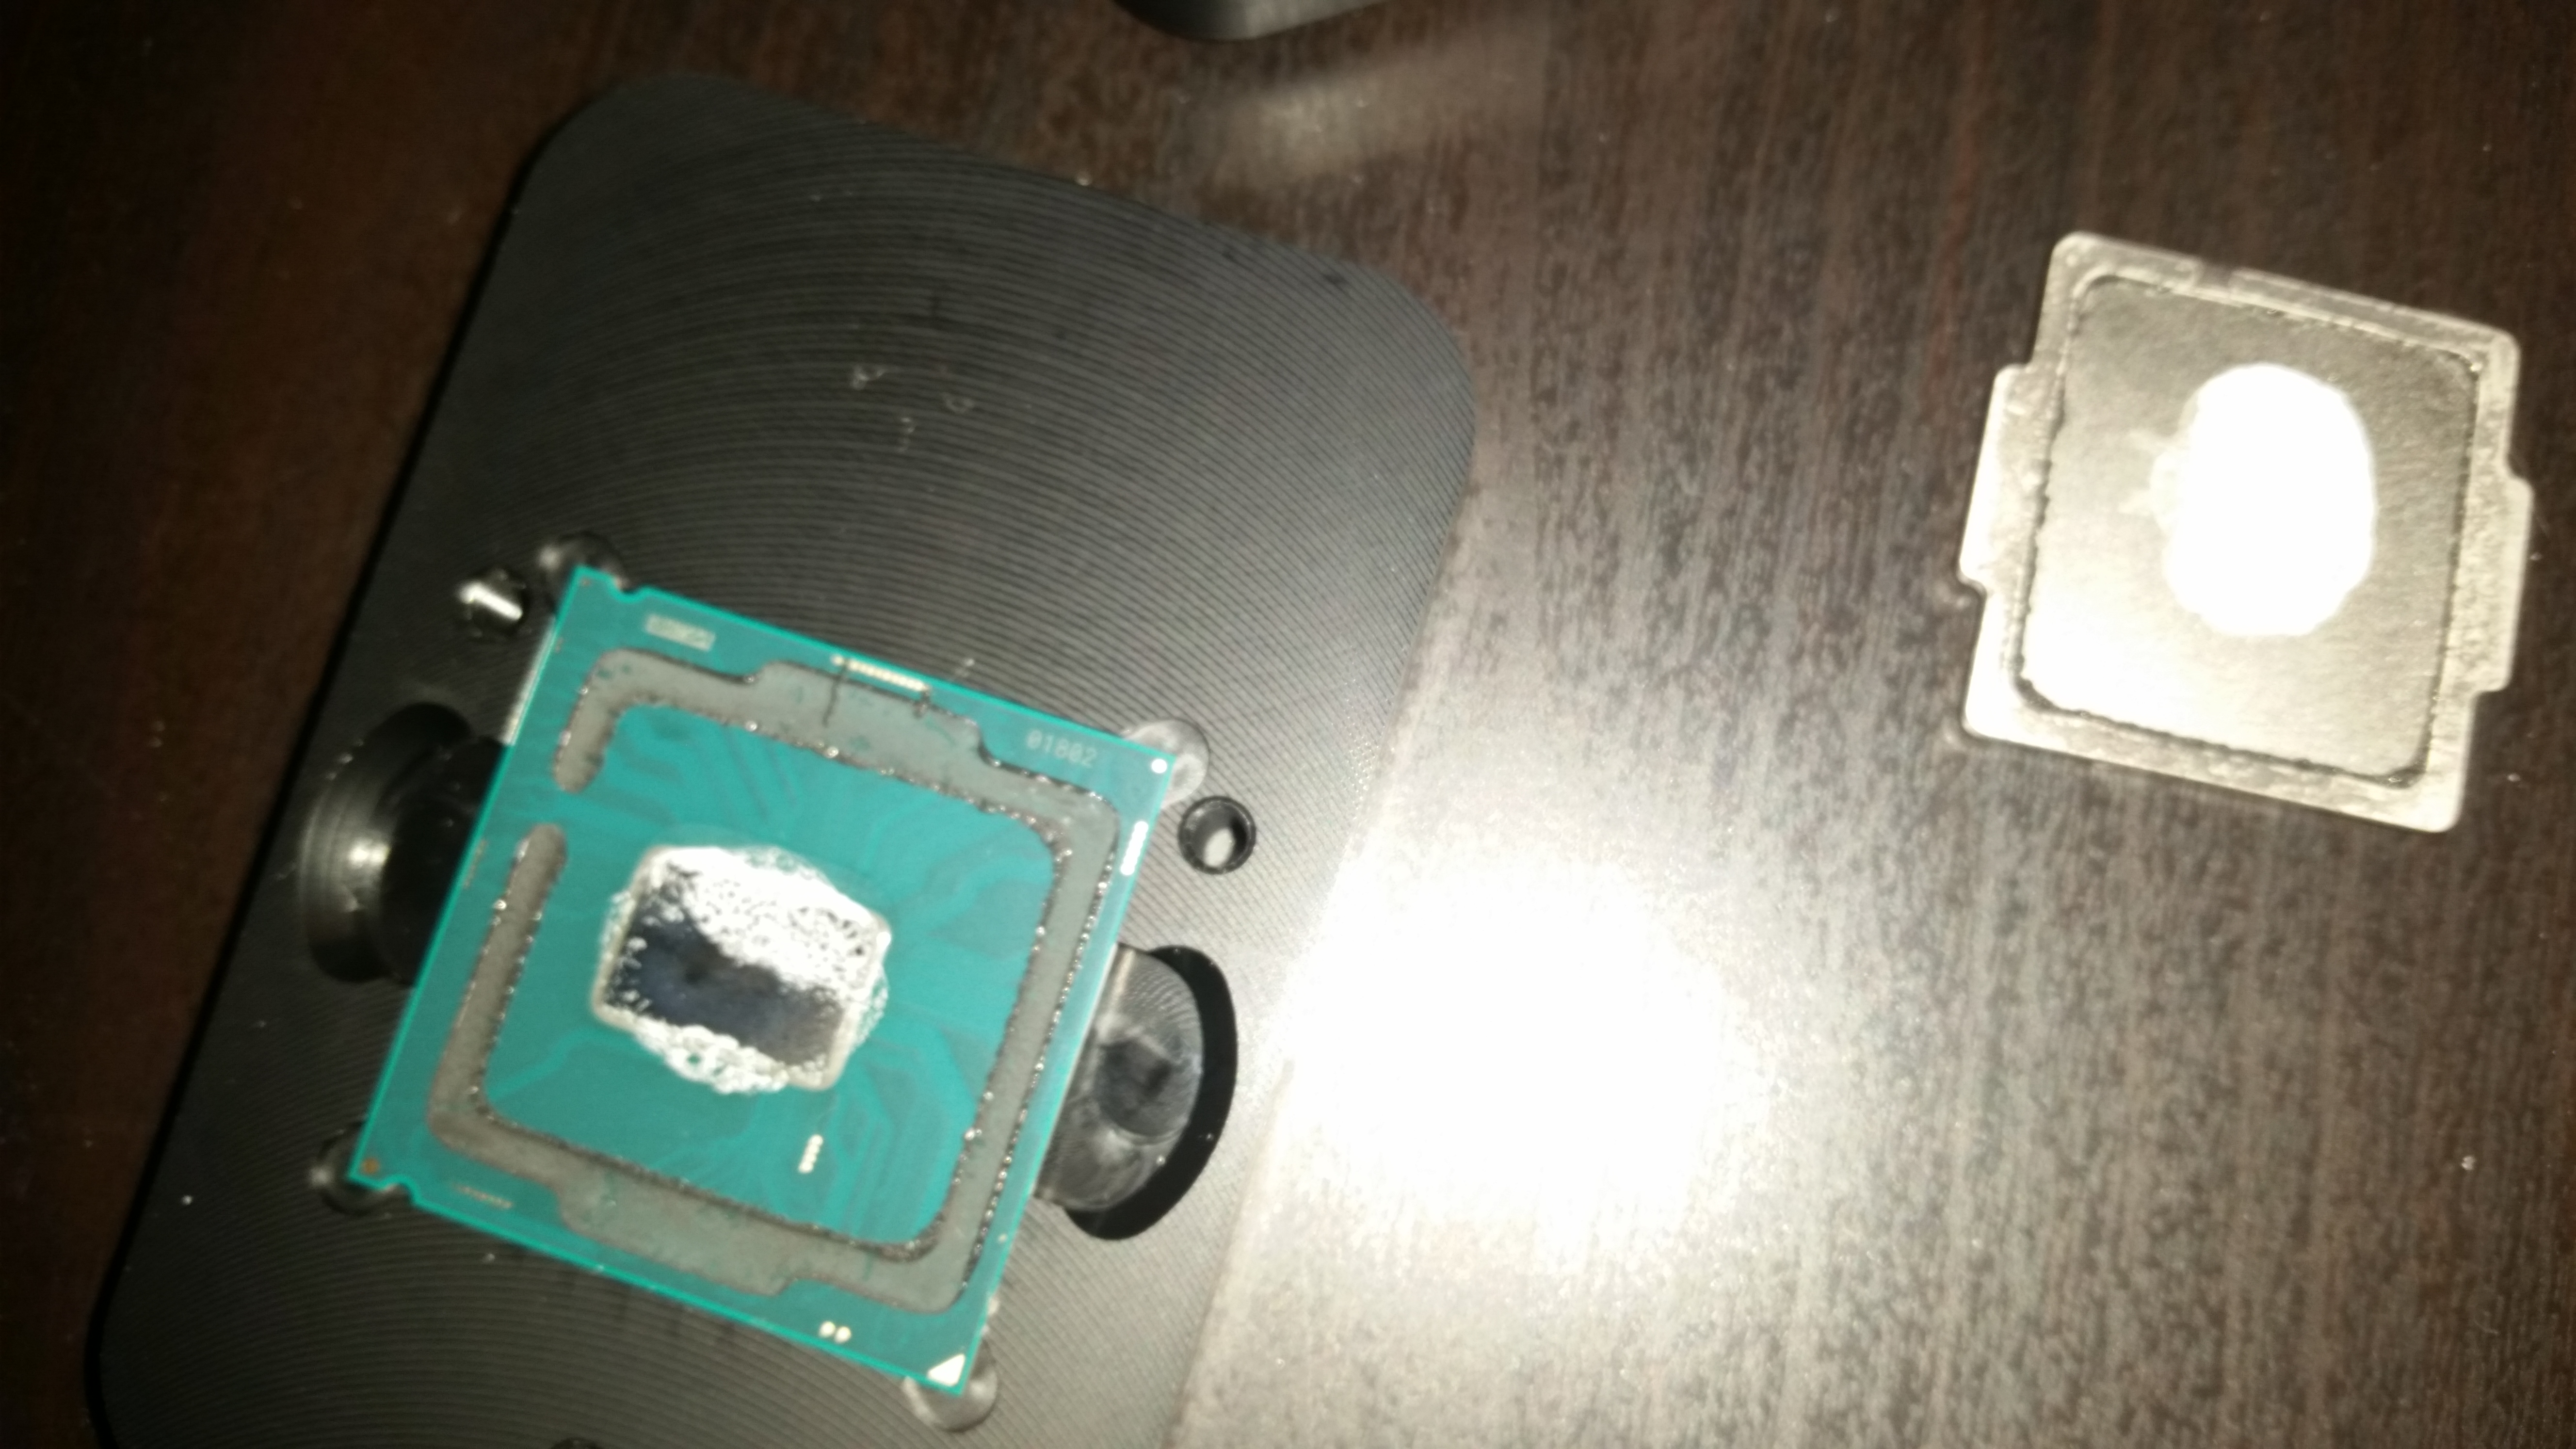
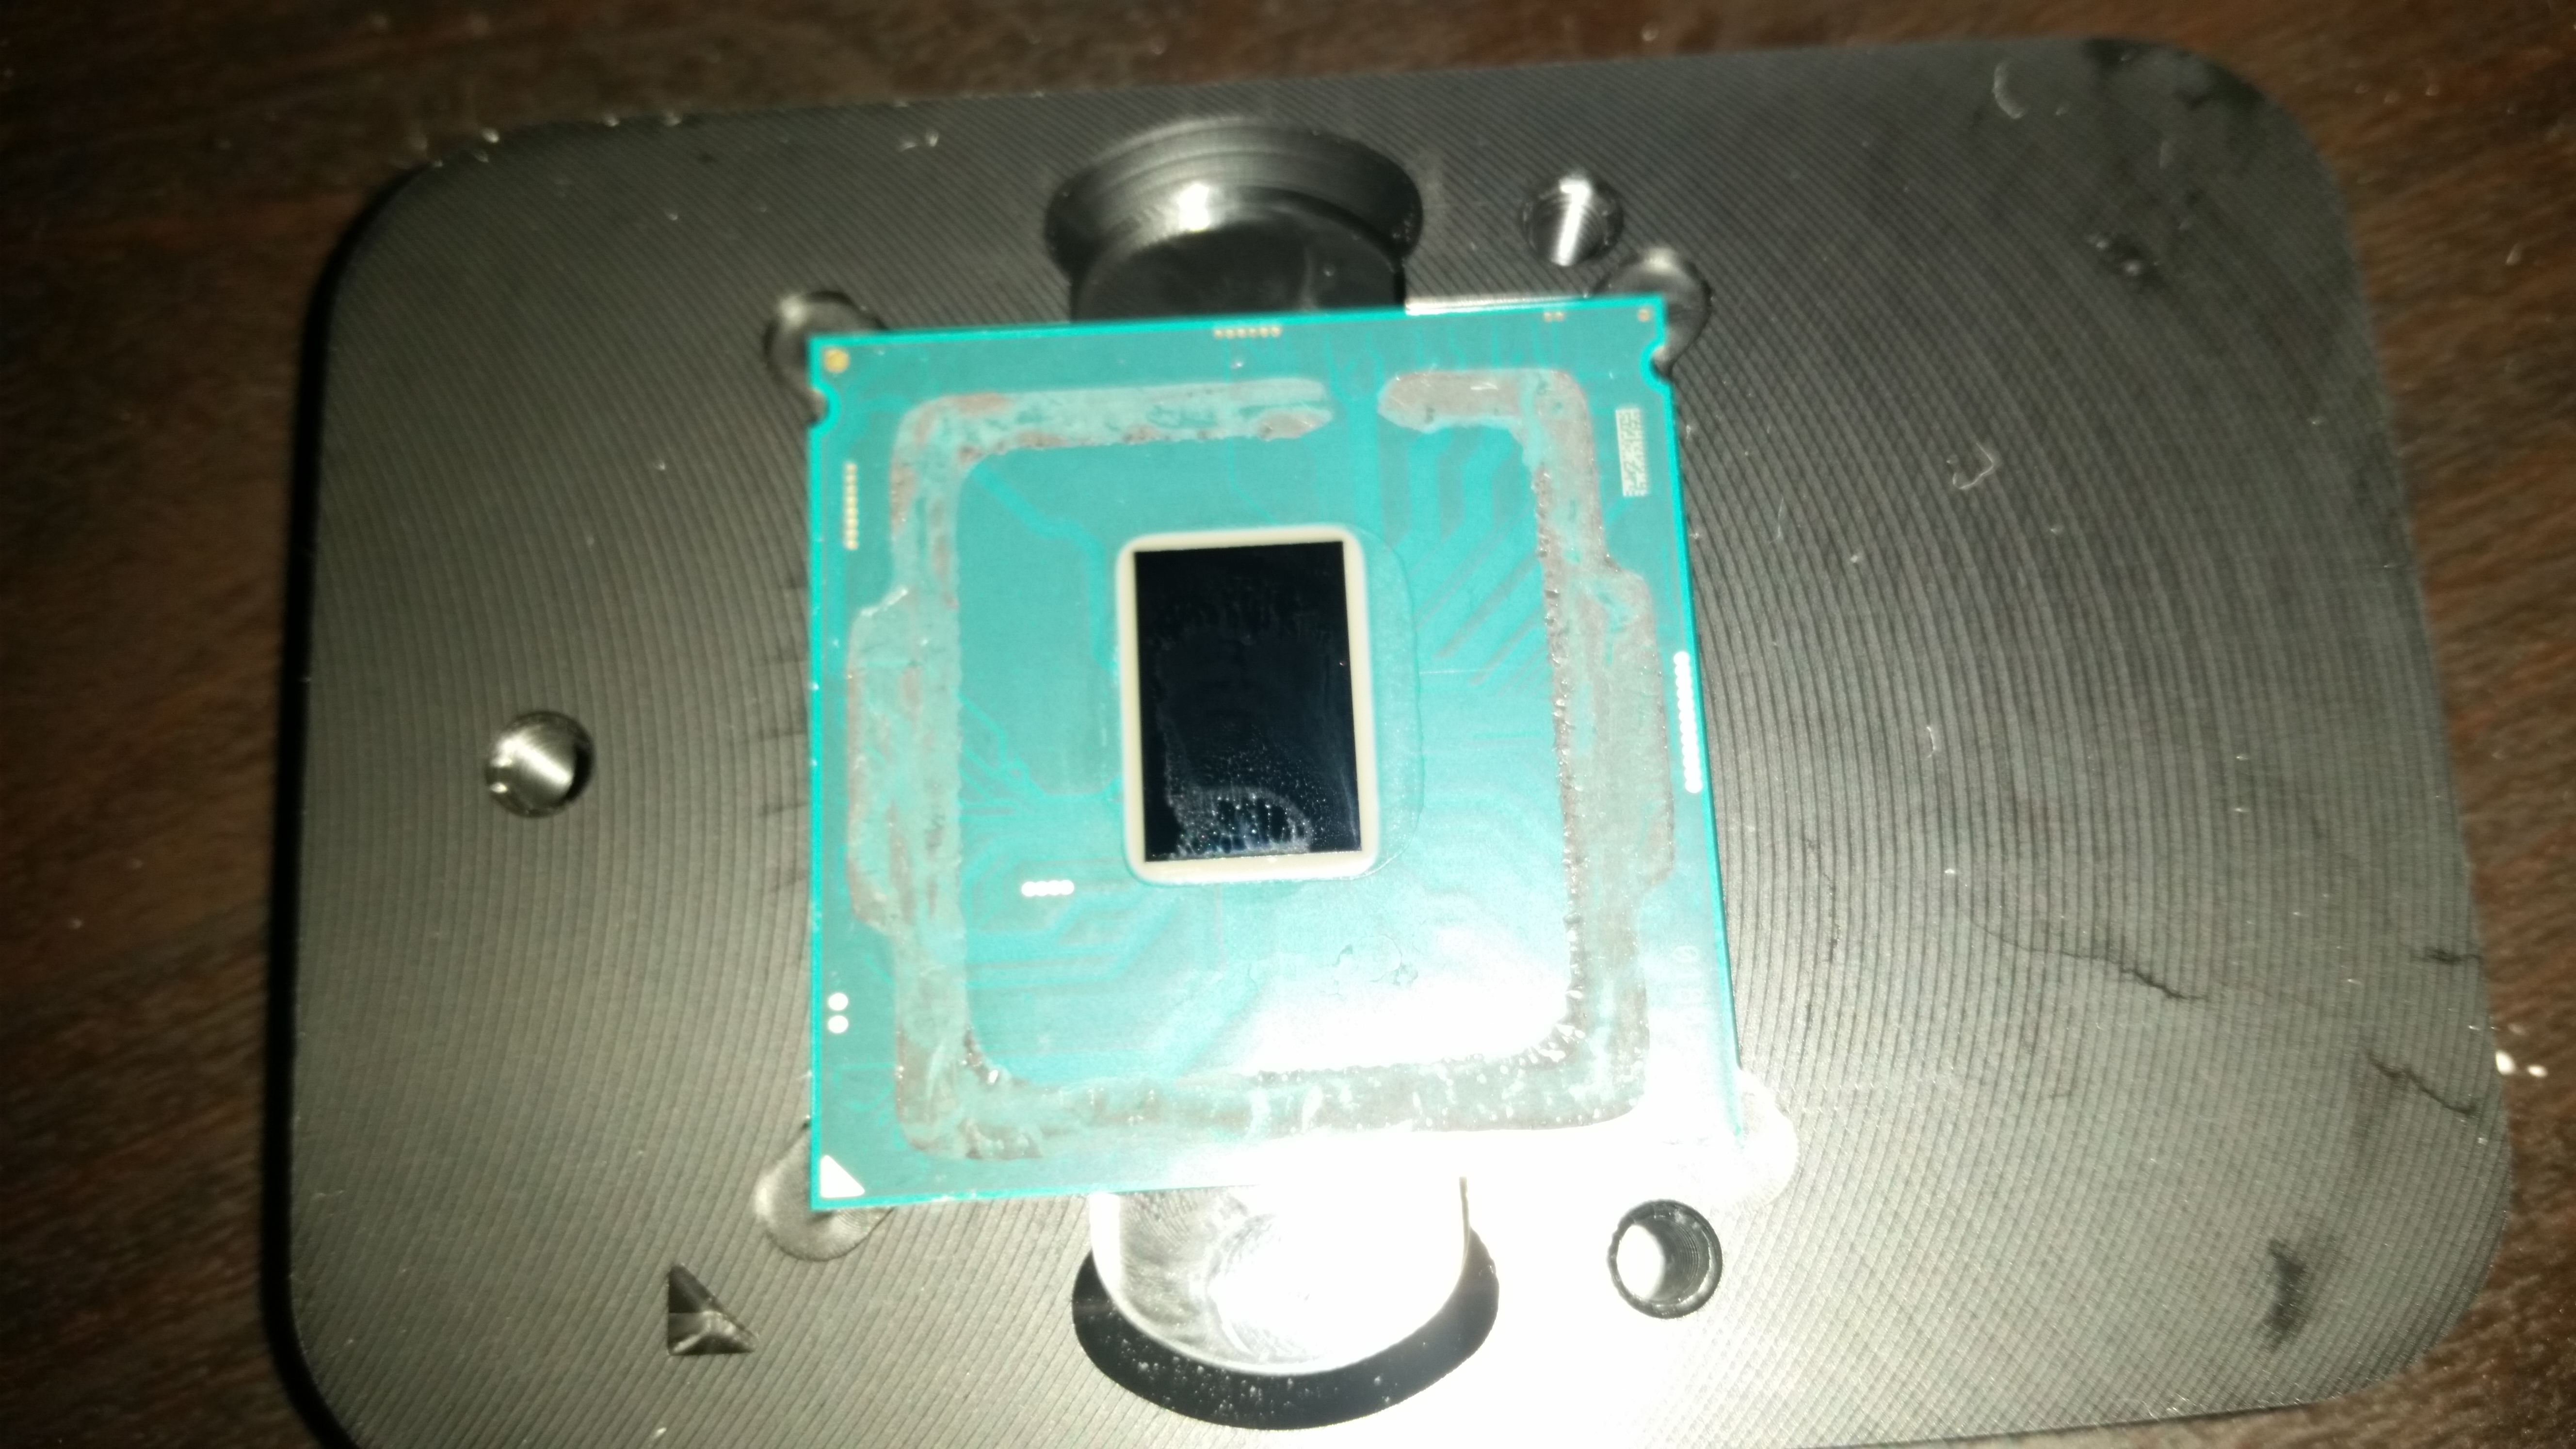
Using the Rockit88, I popped the IHS off the wafer and removed the old TIM and sealant. Just to be safe, I masked the CPU with tape prior to applying the new TIM, as the liquid metal is extremely runny, almost like liquid mercury.
Using the relid kit, I aligned the IHS back above the CPU and applied a drop of superglue on the bottom corners of the IHS and pressed it down. After allowing it to cure for 2 hours, I popped the CPU out of the kit, threw it in the socket and started it up. Almost immediately I noticed a huge difference in thermals. Under both AVX and non-AVX loads, I was barely hitting 72C which is simply mind blowing. With that headroom, I was able to bump up the voltage back to 1.36V and hit that sweet 5.0GHz
As of posting this, everything has been running stable for a few weeks now and thermals haven't changed nor have there been any signs of instabilities.
Conclusion and Disclaimer
Overall, the delidding process is pretty simple and safe if done properly. If you're on the fence about delidding and plan on overclocking or have started but are exceeding safe thermals, I'd definitely recommend it.
Just be aware of the risk you're tasking when delidding your CPU is it will instantly void your warranty. Generally speaking, I'd say it's a fairly easy process if you're patient and do it properly.